How To Install Drupal
The instructions below will detail how to install the drupal content management system on a shared web host.
Installing Drupal can be completed if following these steps below. The first five steps of the process is for those who choose Digital Pacific as there Drupal Web Host.
Step 1 – Downloading the drupal package
Download the latest release of the software from drupal website. Once the download has completed, extract the files to your desktop.
Step 2 – Download an ftp program
To be able to upload the software files to your host, you will need an FTP program. Filezilla is a great and FREE FTP program, which you can get by going to filezilla-project.org and selecting the latest release. After installing the program on your computer, you will then be able upload Drupal.
Step 3 – Login to your hosting account.
Don’t have a hosting account? You can sign up for a hosting plan here.
Open Filezilla and login to your hosting account. In the top section, you will enter this information:.
Host: ftp.yoursite.com.au
Username: username@yoursite.com.au
Password: Would have been sent to you via email from Digital Pacific.
Once you have entered your login information into filezilla click the Quickconnect button. If you have trouble connecting to your server then check the host, username and password information you have entered are correct.
Step 4
Upload all files into your:
- mainwebsite_html folder OR
- public_html folder
This typically depends on the web hosting control panel your are using.
Step 5
Login to your control panel at
- www.yoursite.com.au/admin OR
- www.yoursite.com.au/cpanel
This also depends on the web hosting control panel your are using.
Create a new mysql database. Video Tutorials:
- Plesk Control Panel Users – Create a new mysql database tutorial.
- cPanel Control Panel Users – Create a new mysql database tutorial.
**The next steps aplpy to all Drupal users, not just those with Digital Pacific hosting.**
Step 6
Set up the settings.php file by first finding your default.settings.php file and copying it. Rename the copy of this file to settings.php. Both files need to be active for Drupal to work properly.
Start your Filezilla program to upload the settings.php to your server and then make the file writable. You can do this by right-clicking the settings.php file on the Remote site section of Filezilla and selecting file permissions. On this page, make the permissions a 666 level.
Step 7
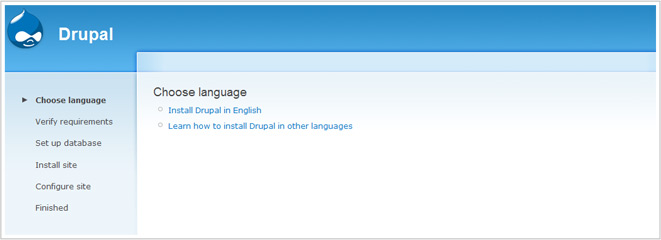
Run the Drupal install script by accessing the root of your Drupal site. If you installed the software to the root directory, you would then access http://www.yoursitename.com. This will bring up a step-by-step process to input your site information, such as database and site name and admin.

Step 8
In order to have a directory where files can be uploaded to, it must first be created and given full write access. This can be done through Filezilla.
Navigate to your sites/default folder and right-click to select create directory. Name the new directory “files”. This time, you will right-click on the new directory folder and select “file permissions” where the number should now be set to 777.
Drupal should now be installed. Log in and start creating your new website!
